|
SENSORS What You'll Need Now that our Raspberry Pi is up and running we can begin installing the DHT22 Temperature and Humidity sensors. |
|||
 Raspberry Pi Loaded with LAMP, WiringPi & DHT22 Drivers |
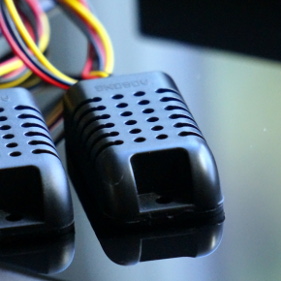 Sensors DHT22 Temperature & Humdity Sensors |
 Jumper Wires Used to connect the sensors to the GPIO |
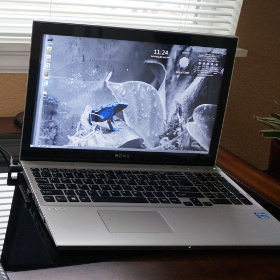 Computer For SSH access to your Raspberry Pi |
|
Installing the Temperature & Humidity Sensors The DHT22 Temperature & Humidity Sensors feed readings to the Raspberry Pi where they will be logged in the database. In this setup we will be using 3 DHT22 sensors. One for each vivarium and a sensor to monitor the room where the vivariums are kept. |
|||
|
STEP 1 Wire the sensors to ground (black - pin 6) 3.3v (red - pin 1) and WiringPi pins 7,8,9 (yellow - pins 3,5,7) 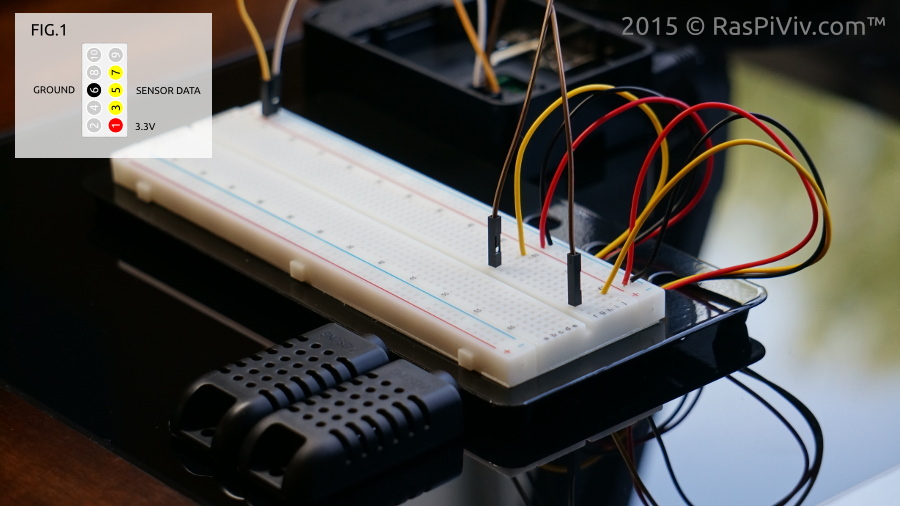 | |||
|
STEP 2 Login to your Raspberry Pi and type: sudo loldht 8 If successful, you should get a reading returned. If not, press Ctrl+C to exit. Check your wiring. Test your other sensors by affixing the pin number to the end of the command. 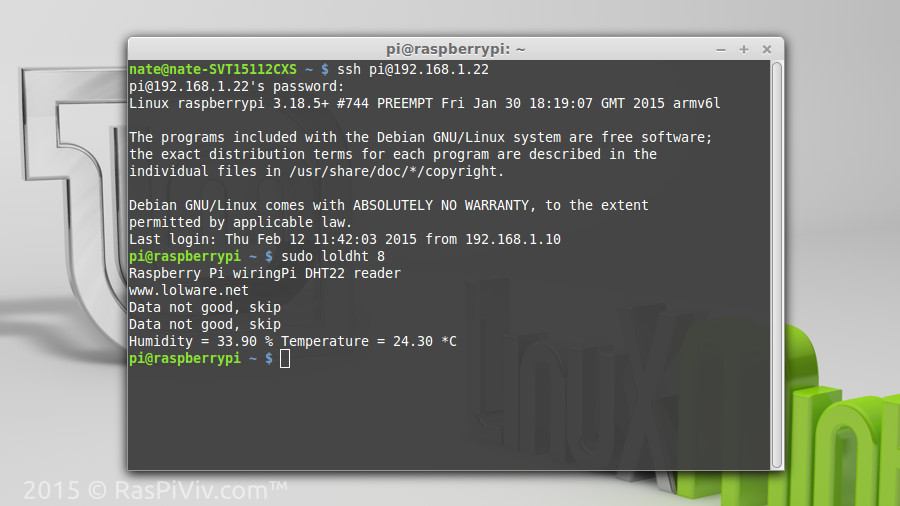 | |||
|
STEP 3 Install the sensor database wget http://www.methinksinc.com/raspiviv/datalogger.sql mysql -u root -p < datalogger.sql Create a new Mysql user mysql -u root -p CREATE USER 'datalogger'@'localhost' IDENTIFIED BY 'datalogger'; GRANT ALL PRIVILEGES ON datalogger.* TO 'datalogger'@'localhost'; 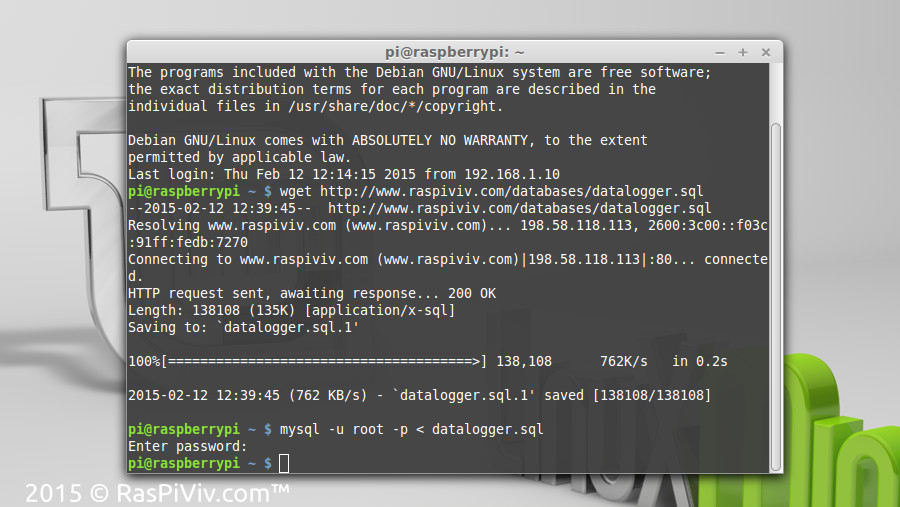 | |||
|
STEP 4 Download the Raspberry Pi Vivarium Controller Installation package and install following the directions in the file Type sudo nano /var/www/html/sensor.php At the end of the file change the sensor values if needed. Press Ctrl+X sve by pressing y and Enter.  | |||
|
STEP 5 Test the sensors by typing sudo php /var/www/html/sensor.php You can now visit your Rasperry Pi Vivarium controller at its IP address in a web browser and see your current sensor readings. 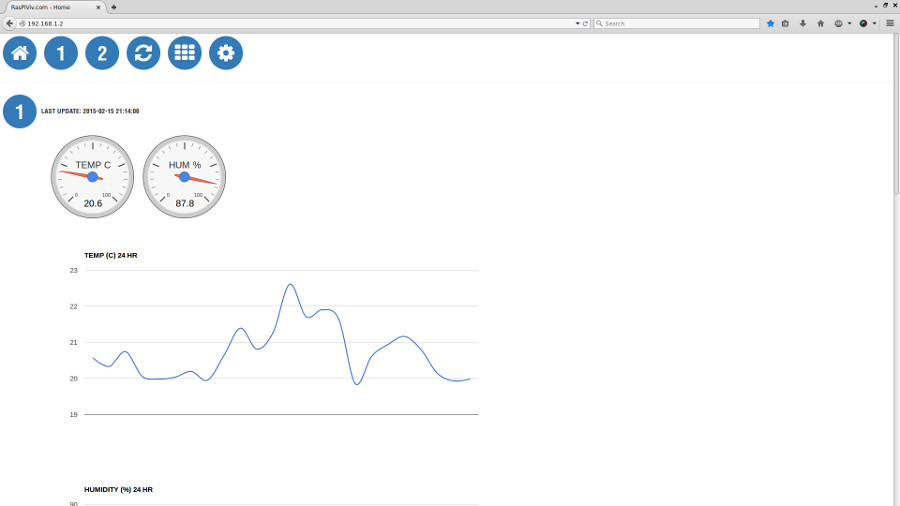 | |||
|
STEP 6 Type sudo crontab -e in the terminal and press ENTER Add the sensor cron job: * * * * * php /var/www.html/sensor.php Add the history cron job: 59 23 * * * php /var/www/html/history.php Press Ctrl+X save by pressing y and Enter 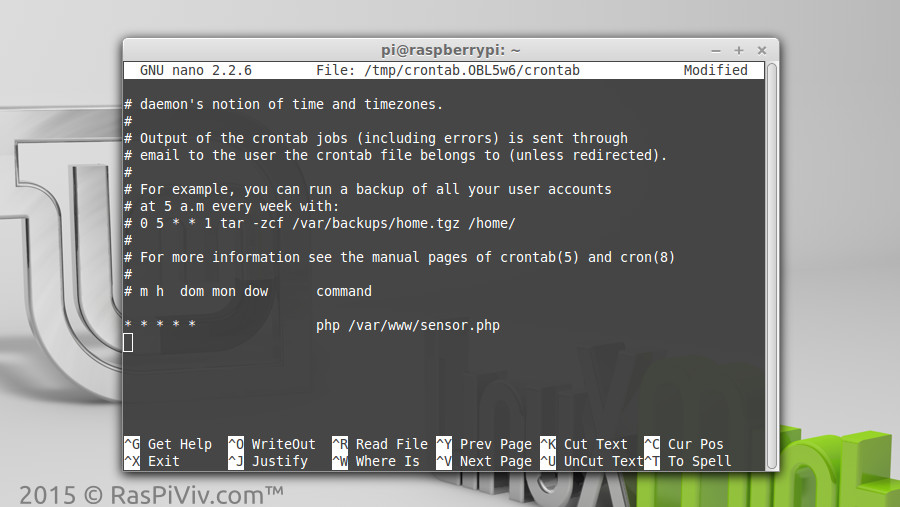 | |||
|
STEP 7 Visit your Raspberry Pi Vivarium Controller home page and confirm that everything works Your sensor data will be updated every minute and the history cron job will delete the day's readings everyday and save the average reading of every hour. | |||
|
FINISHED Now that we have the sensors working we can check on our vivarium condidtions any time Up next we will start working wiht relays to control our lighting and other vivarium components. |
|||