|
RELAYS What You'll Need Gain control over your Vivarium lighting using relays that you can put on a schedule or control manually from your smart phone!. |
|||
 Raspberry Pi Fully loaded with RasPiViv installed |
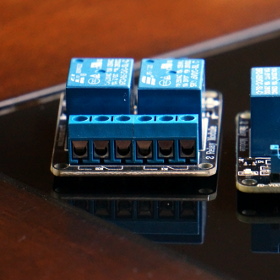 Relay Modules You'll need 4 relays for this project |
 Jumper Wires Used to connect the sensors to the GPIO |
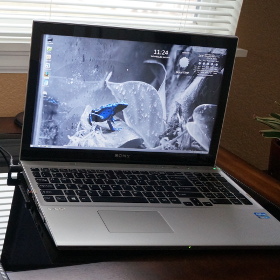 Computer For SSH access to your Raspberry Pi |
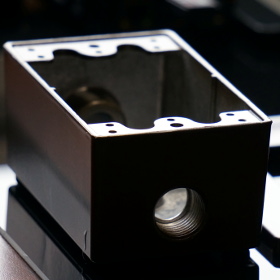 Outlet Boxes With faceplate |
 Power Outlet To power your components |
 Power Cord To bring power to the electrical outlet |
|
|
Installing Relays Relays are used to manage lighting, pumps and other vivarium components. You can easily build a outlet box to plug your vivarium components straight into without any modifications. In this build we have a total of 4 relays. two are used to power the lighting of each vivarium and two more to power misting pumps to each vivarium. !! WARNING !! High Voltage! Use extreme caution!! |
|||
|
STEP 1 Wire the relays to ground (black) 5v (red) and WiringPi pins 0,1,2,3 (physical pins 11, 12, 13, 15) 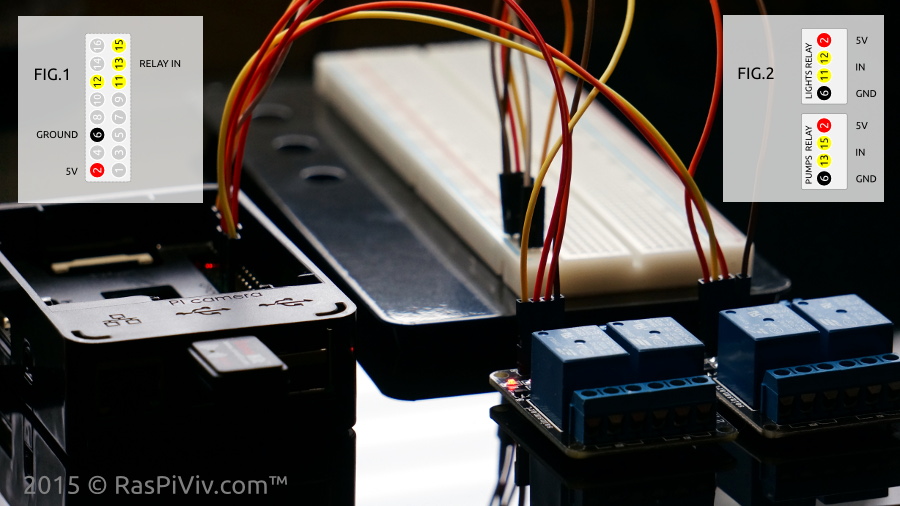 | |||
|
STEP 2 Open the browser and visit your Raspberry Pi Vivarium Controller "Manual Controls" page and test your relays LED indicator lights along with the classic relay click will let you know they're working NOTE: Buttons will show what will happen when clicked, not the current state of the device 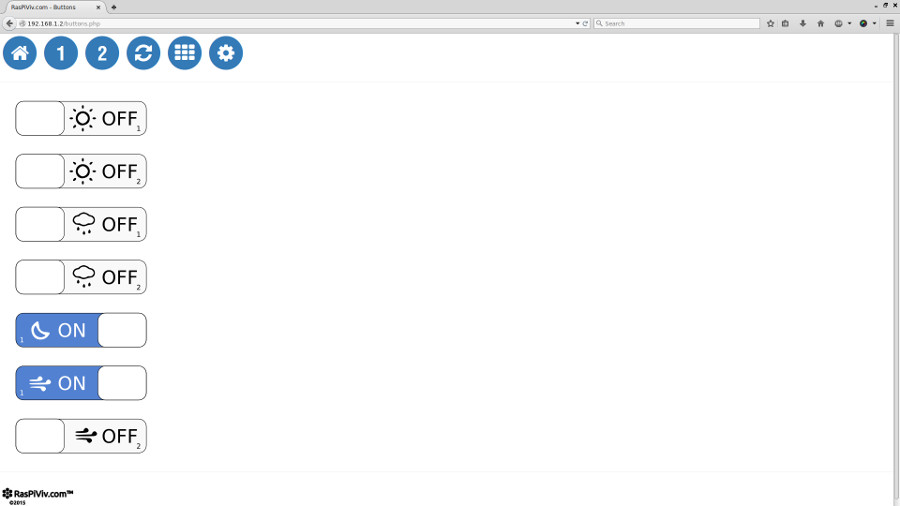 | |||
|
STEP 3 Insulate the bottom of your outlet box with thick tape if it is metal Run the power cord through the outlet box opening. 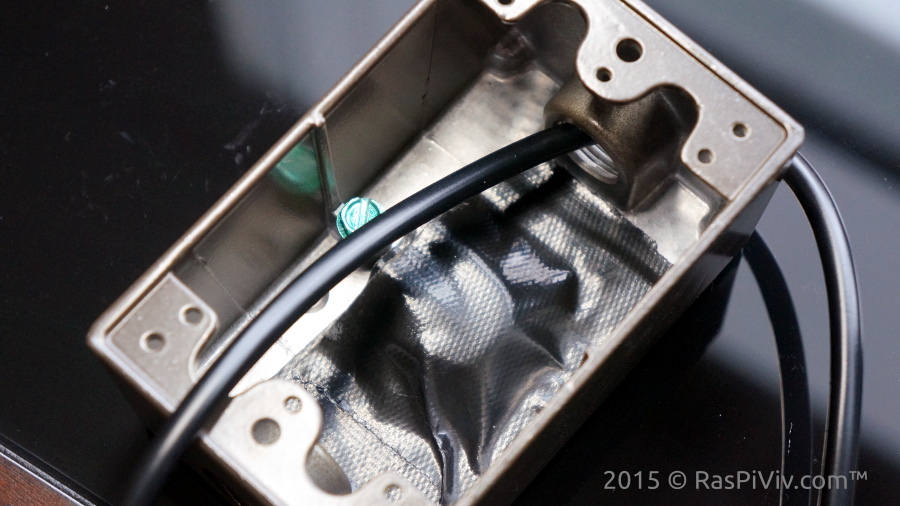 | |||
|
STEP 4 Connect the positive wire of the power cord to the positive screw of the electrical outlet 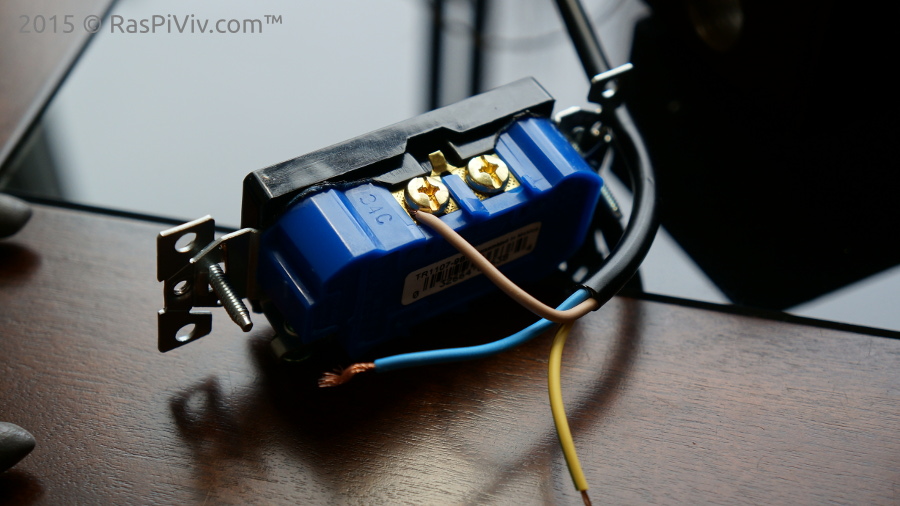 | |||
|
STEP 5 Snap off the tab connecting the negative scrw mounts using a pair of needle nose pliers 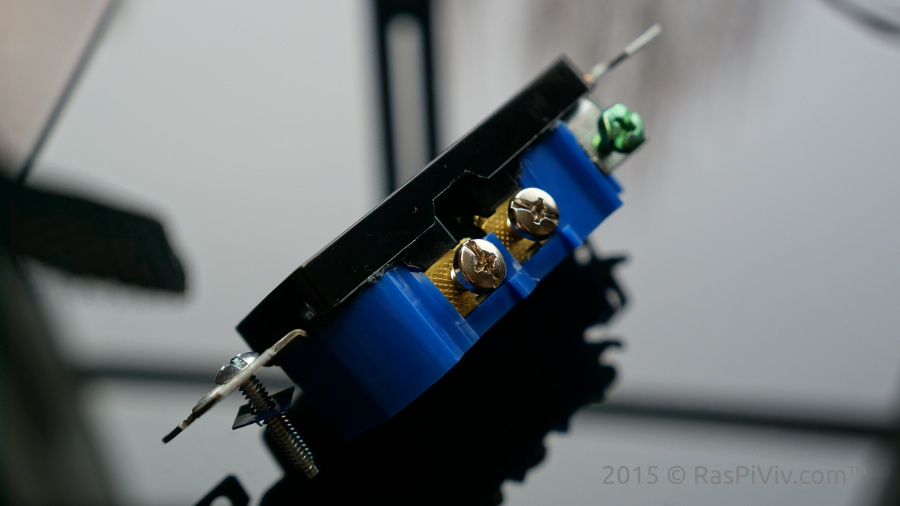 | |||
|
STEP 6 Connect the negative wire of the power cord thorugh the relays using short pieces of wire 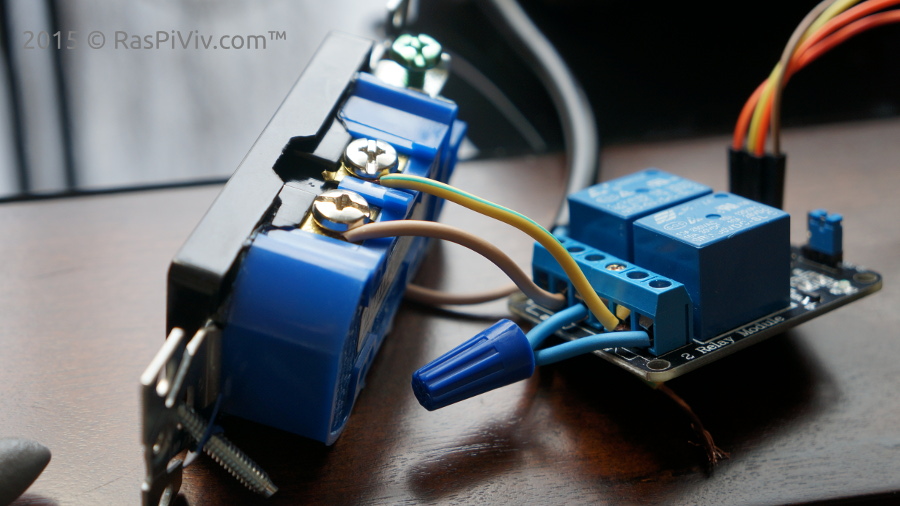 | |||
|
STEP 7 Connect the ground wire of the power cord. 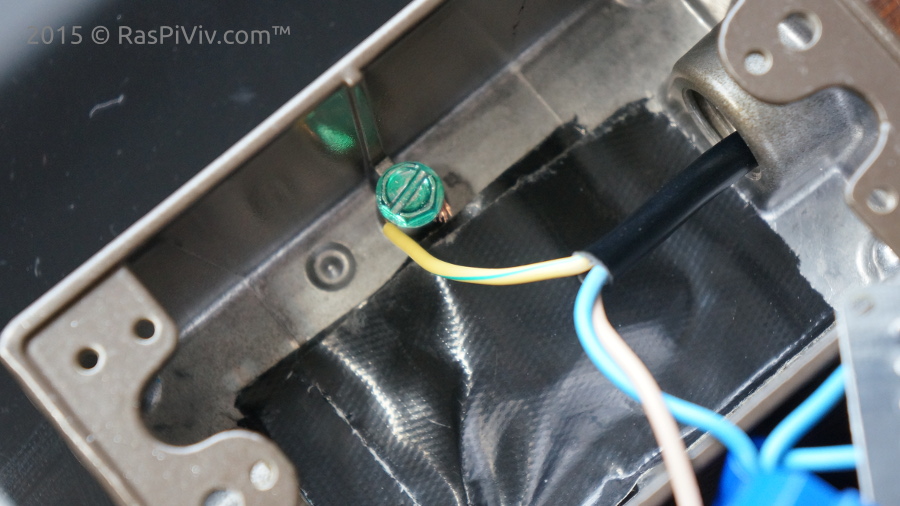 | |||
|
STEP 8 Run the jumper wires through the outlet box and install the relay and electrical outlet. 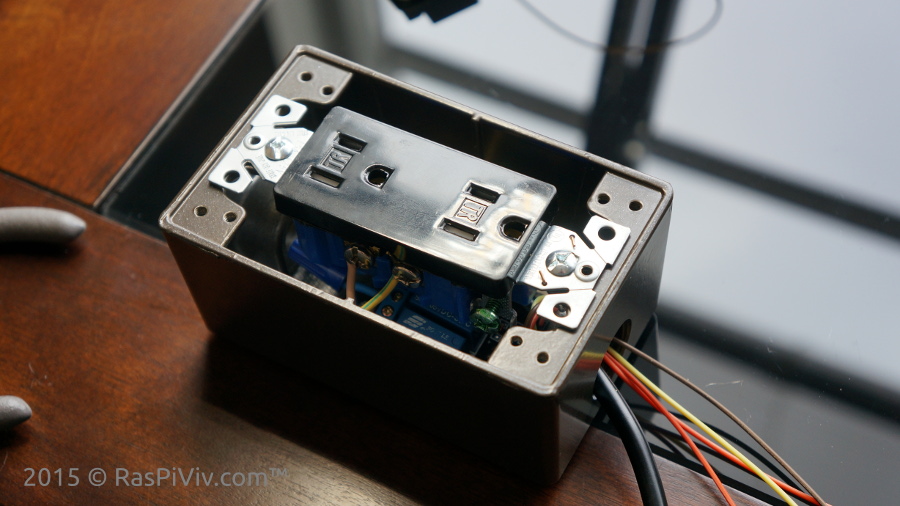 | |||
|
STEP 9 Finish the assembly by installing the faceplat and connect your outlet box to the Raspberry Pi. 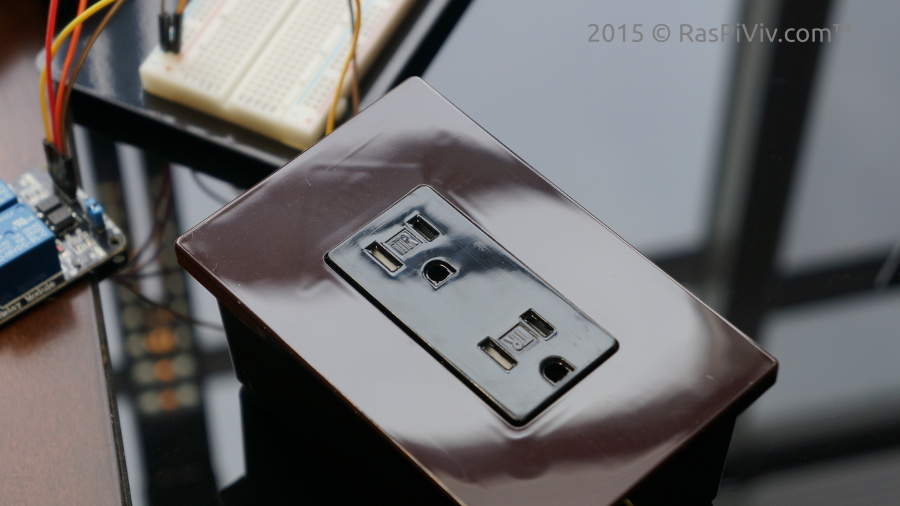 | |||
|
FINISHED Now that we have the relays working we can set a schedule using cron jobs Up next we will create a schedule and install the optional LED moon lights! |
|||