|
LIGHTS What You'll Need |
|||
 Raspberry Pi Fully loaded with RasPiViv installed |
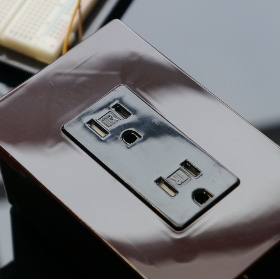 Relay Power Box Assembled in previous section |
 Jumper Wires Used to connect the sensors to the GPIO |
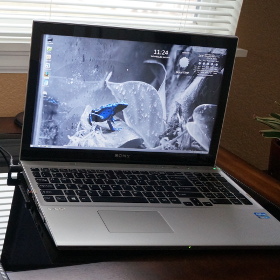 Computer For SSH access to your Raspberry Pi |
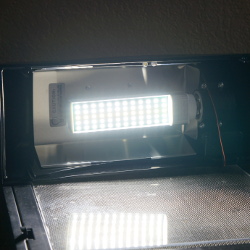
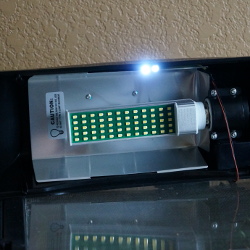
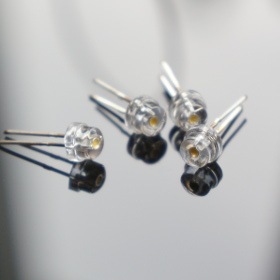 LEDs Used to create Moonlight effect |
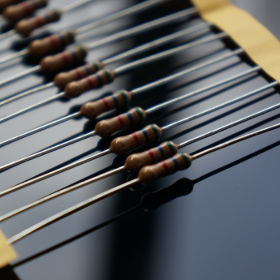 Resistors 10 Ohm 1/2 watt |
||
|
Installing Schedules and LED moonlights Now that we have our relay driven power outlets we can schedule them to turn on and off using a cron job In this build we have two light hoods with LED Moonlights that power on & off automatically during moonlight mode |
|||
 Day Mode Normal Vivarium lighting mode |
 Night Mode LED moonlighting mode |
||
|
STEP 1 Create a cron job to schedule your lighting. In my build the lights pwer on at 8am and off at 8pm * 8 * * * wget -q http://localhost/html/on.php * 20 * * * wget -q http://localhost/html/off.php 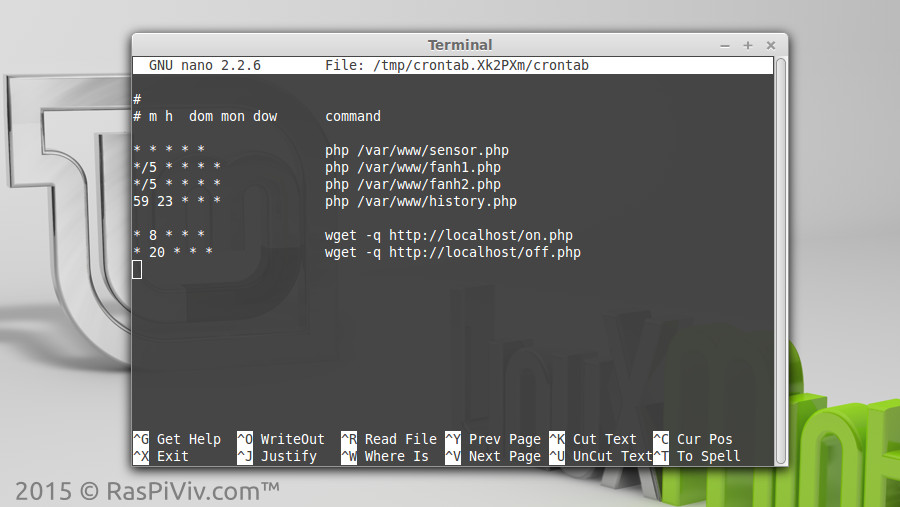 | |||
|
STEP 2 Connect the LEDs to a ground pin and positive to GPIO 4 (physical pin 16) All LEDs are wired in parallel with a single resisitor and powered by the GPIO pin 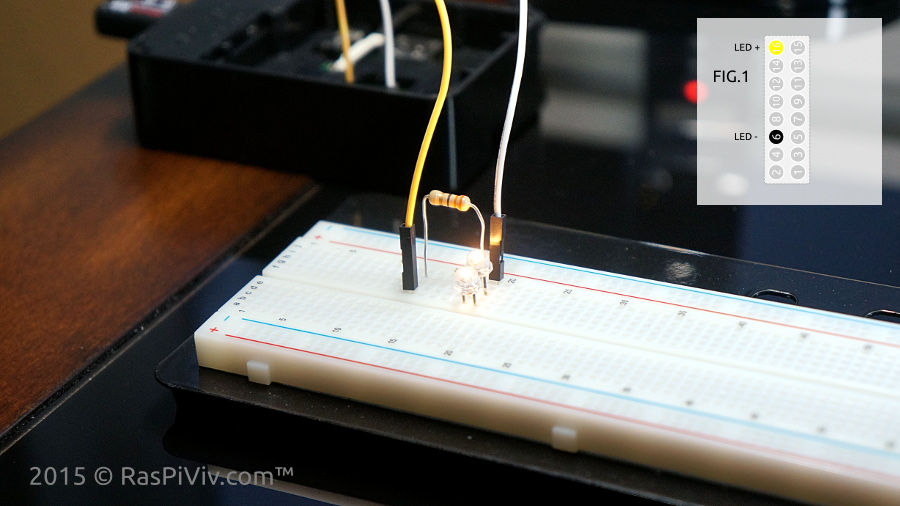 | |||
|
STEP 3 Open a browser and visit your Raspberry Pi Vivarium Controller "Manual Controls" page and test your LEDs NOTE: Buttons will show what will happen when clicked, not the current state of the device. 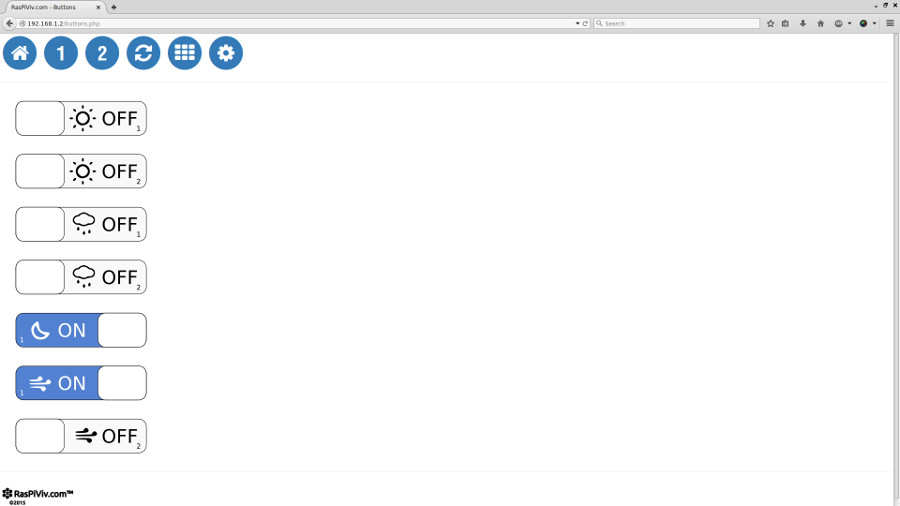 | |||
|
STEP 4 Wire and mount your LED moonlights 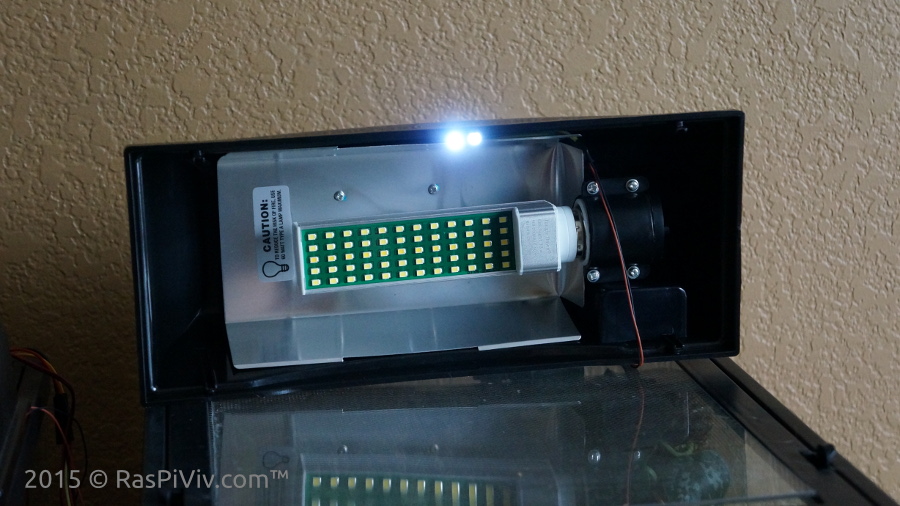 | |||
|
FINISHED Next up, we will install fans and learn how to set humidity |
|||