|
FANS What You'll Need |
|||
 Raspberry Pi Fully loaded with RasPiViv installed |
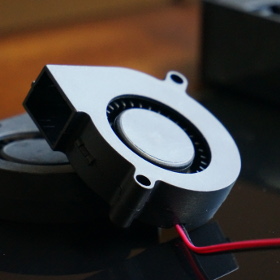 Fans Two mini 5v blower fans |
 Jumper Wires Used to connect the sensors to the GPIO |
Parts Two 2N222 Transistors & two 10k Resistors |
|
Installing & Configuring Fans In this build we have two small 5v blower fans used to regulate humidity in each vivarium The 5 volt fans were chosen because the Raspberry Pi can supply 5 volts. You can easily add your own power supply for higher power fans. |
|||
|
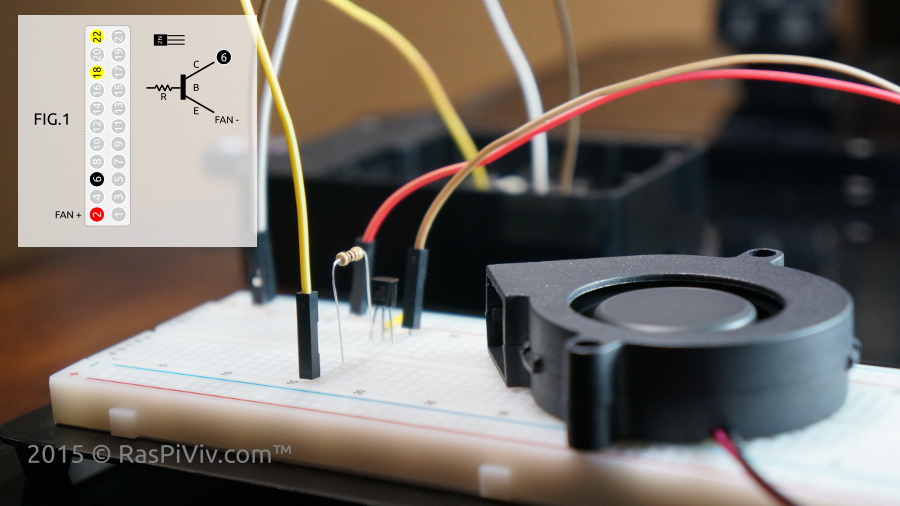
Connect the positive fan wires to 5 volt pint Connect the negative fan wires to E (Emitters) of the transistors Ground both C (collectors) of the transistors Connect GPIO 5 & 6 (physical pins 18 & 22) to B (Base) of the transistors with a 10K resistor |
|||
 |
|||
|
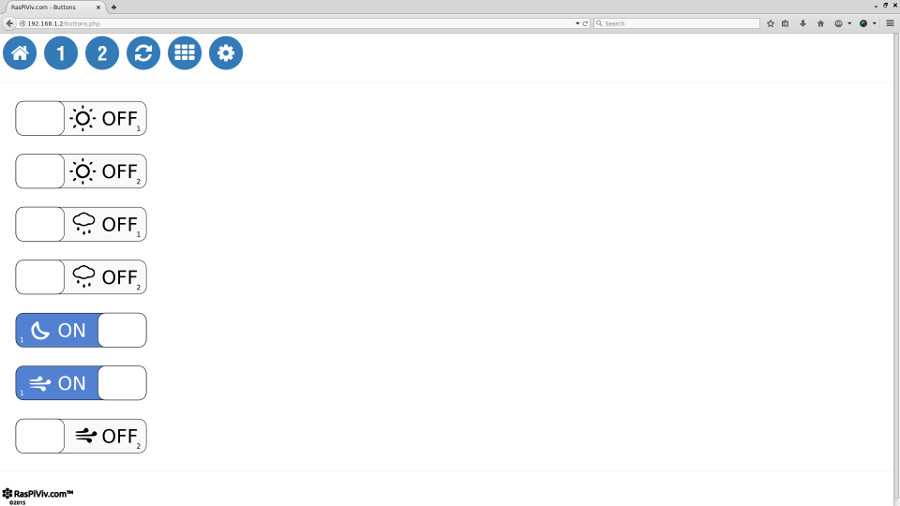
Open a browser and visit your Raspberry Pi Vivarium Controller "manual Controls" page and test your fans NOTE: Buttons will show what will happen when clicked, not the current state of the device. |
|||
 |
|||
|
STEP 3 Set the Fan's humidity threshold sudo nano /var/www/html/fanh1.php Edit the threshold of your desired value Repeast for fan #2 sudo nano /var/www/html/fanh2.php 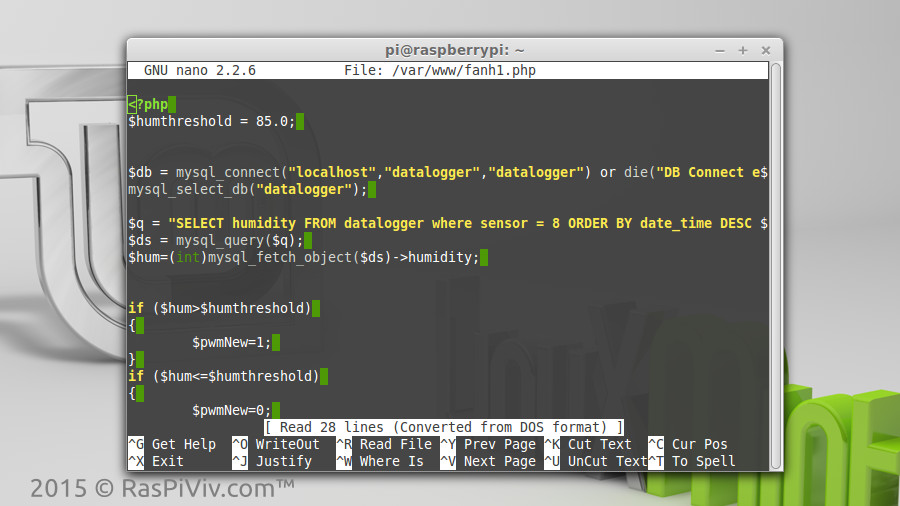 | |||
|
STEP 4 Create a cron job to regulate humidity * /5 * * * * php /var/www/html/fanh1.php * /5 * * * * php /var/www/html/fanh2.php 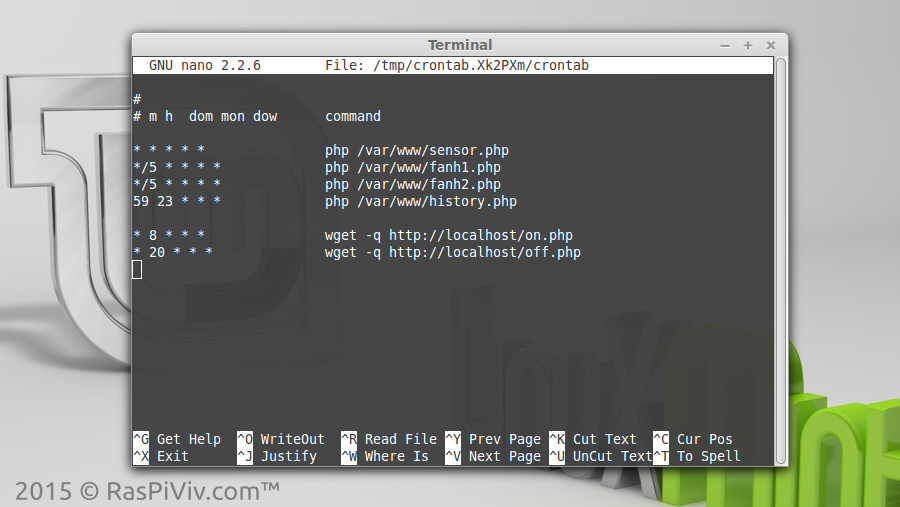 | |||
|
FINISHED The Raspberry Pi Vivarium Controller will check the humidity readings every 5 minutes and authomatically turn on the fans if the humidity is above your threshold Your may use the same method to control other vivarium components such as heaters, misting and lighting. 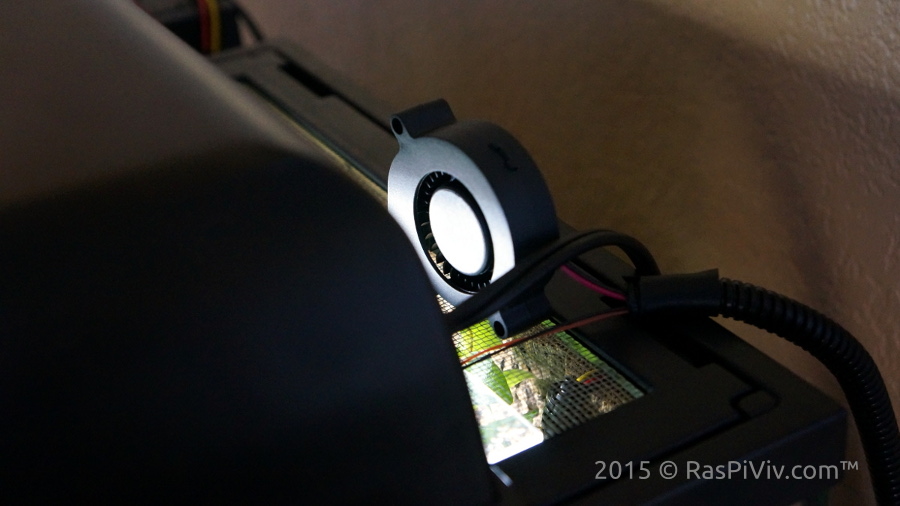 | |||
|
FINISHED! How'd it work for you? | |||