|
BUILD 2 Setting Up the Raspberry Pi Part 2 Now that we have a Raspberry Pi running Raspian we're almost finished! Just a few more steps to finish. |
|
STEP 1 With your Raspberry Pi connected to your network router and booted up you may now use SSH to login to finsih setup 
|
|
STEP 2 Open a terminal on a local computer and enter ssh pi@your-ip-address use the default password or the password you chose earlier 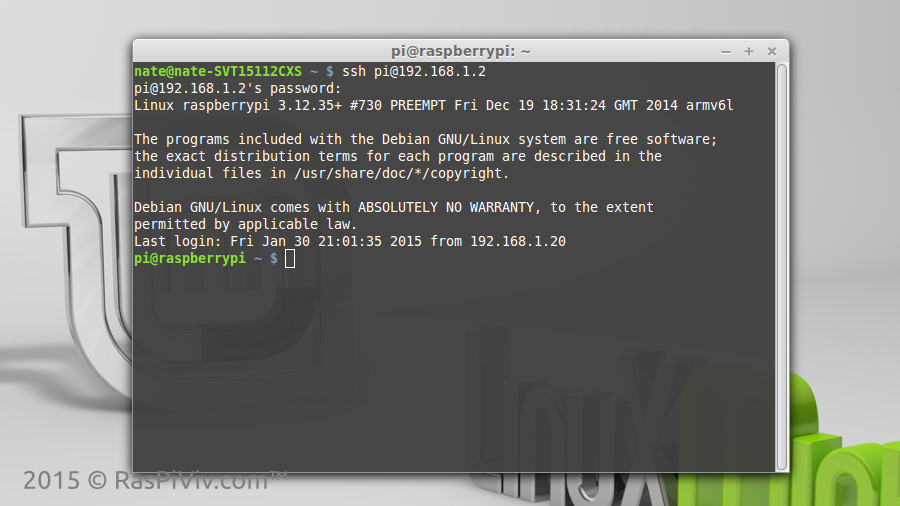
|
|
STEP 3 Upgrade your operating system by entering sudo apt-get update && sudo apt-get dist-upgrade When asked to install updates type y press enter to confirm. 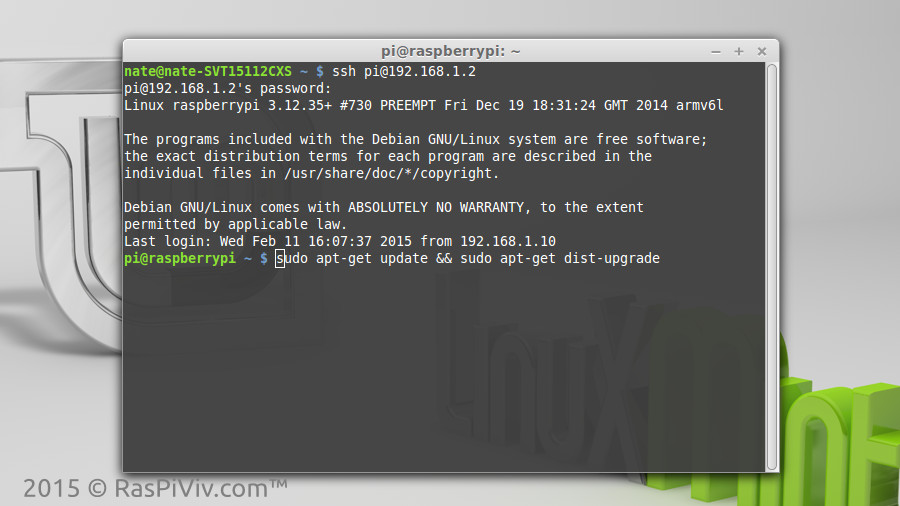
|
|
STEP 4 Install LAMP by entering sudo apt-get install apache2 mysql-server php5-mysql build-essential git-core When asked to install, type y press enter to confirm. 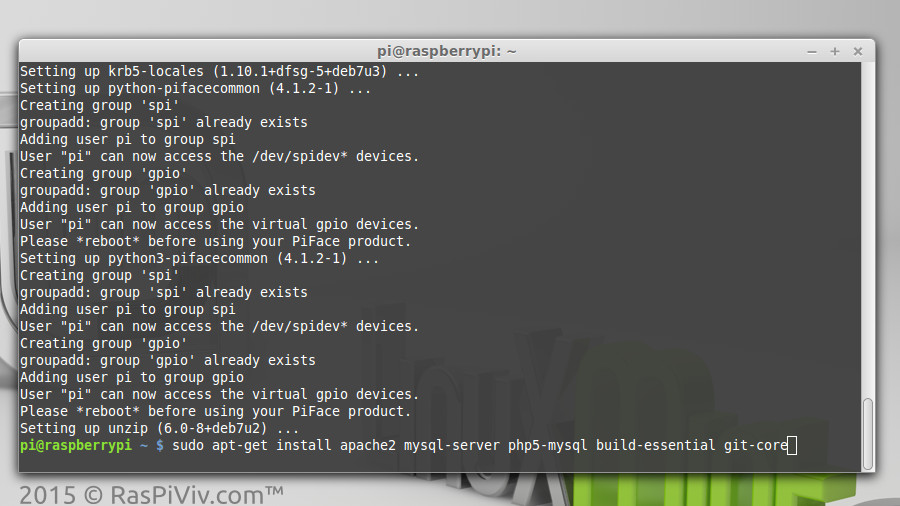
|
|
STEP 5 You will be required to create a MySQL password for the root user. 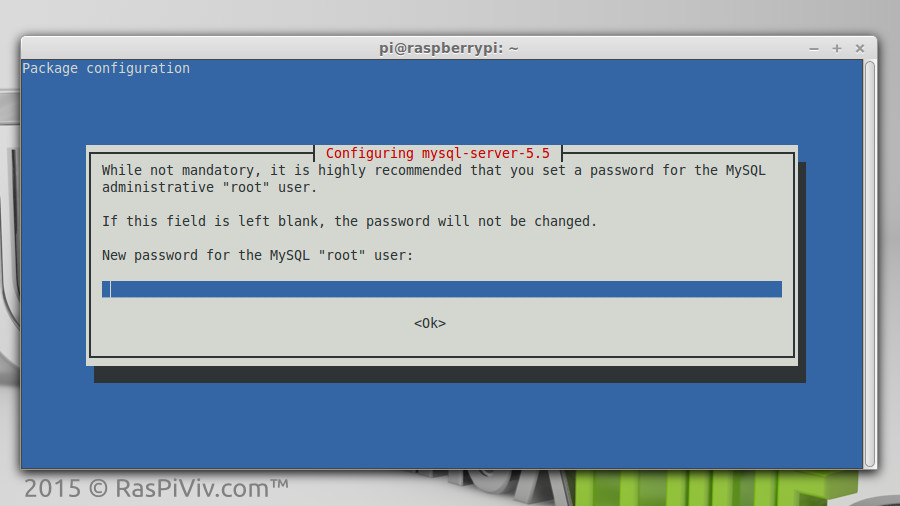
|
|
STEP 6 You may now vist your website at your Raspberry Pi's local IP address 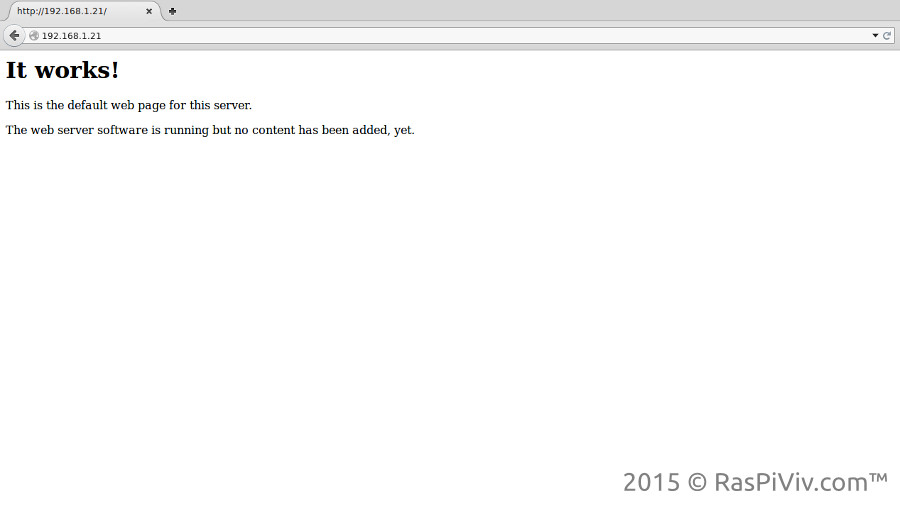
|
|
STEP 7 Install PHP5 module for Apache2 sudo apt-get install libapache2-mod-php5 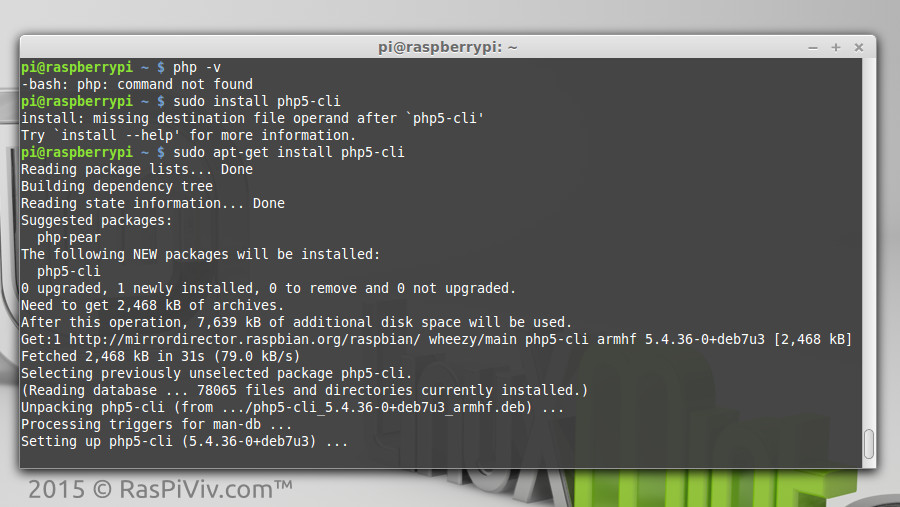
|
|
STEP 8 Install Wiring Pi sudo git clone git://git.drogon.net/wiringPi cd wiringPi sudo ./build 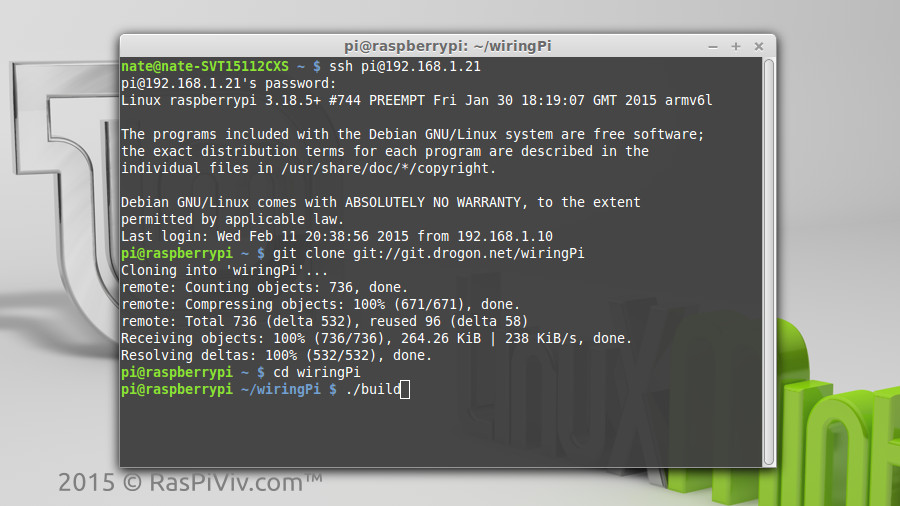
|
|
STEP 9 Install the DHT22 Sensor drivers. Type cd ~ to return to your home directory sudo git clone https://github.com/technion/lol_dht22 cd lol_dht22 sudo ./configure sudo make install 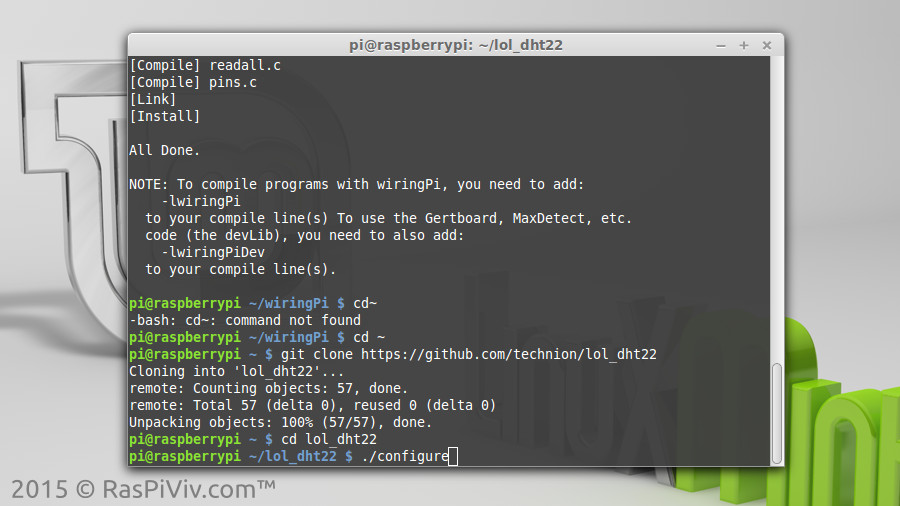
|
|
STEP 10 (OPTIONAL) If you have a USB WI-FI dongle, insert it into one of the USB ports on your Raspberry Pi At the command prompt, type sudo nano /etc/wpa_supplicant/wpa_supplicant.conf and add the following to the bottom of the file Be sure to change the SSID and PSK to match your WI-FI network |
|
network={ ssid="your-wifi-ssid" psk="your-wifi-password" } |
|
Press Ctrl+X to save, y to confirm and finally press Enter. Enter sudo reboot 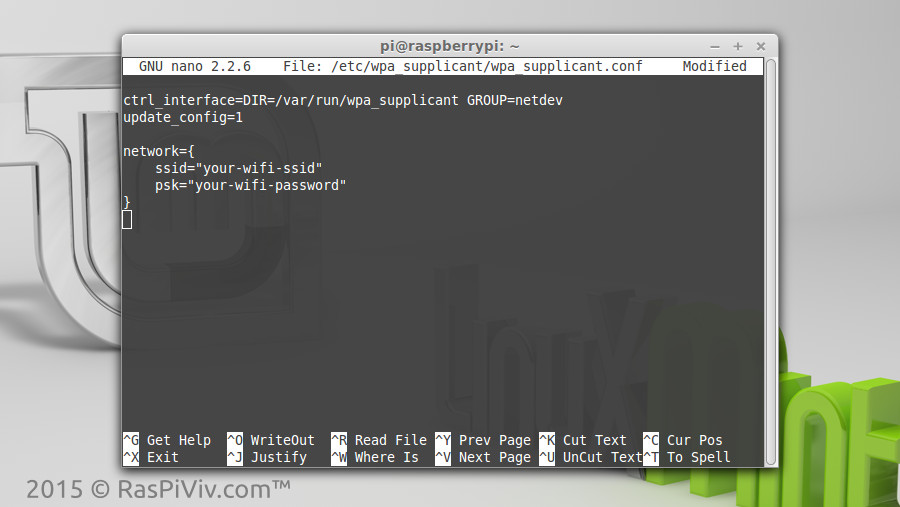
|
|
FINISHED You now have your Raspberry Pi configured and ready to go. In the next section we will install the sensors, database and Raspberry Pi Vivarium controller software. |